Private Networks provide private environments for servers to communicate directly. See full Private Network overview.
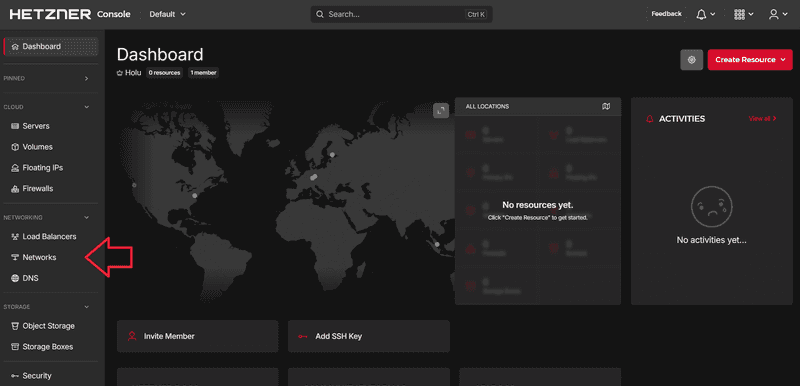
To create a new Network on your Hetzner Console, please open your project and do the following:
-
Go to Networks on the left menu bar
-
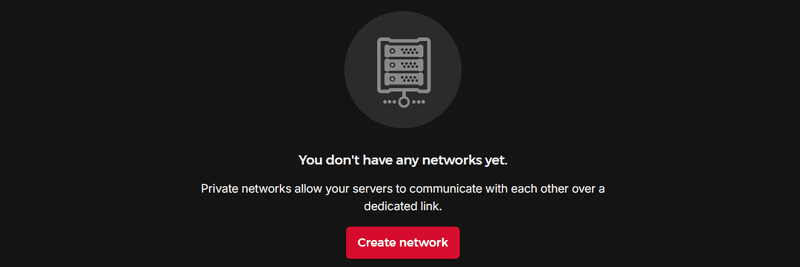
Select Create network
-
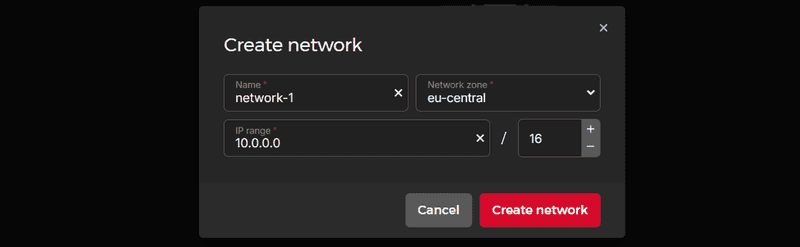
Create your Network
-
Enter a name for your Network in the upper text box. Please note that it is not possible to use names more than once per project.
-
Enter an IP range in the lower text box. You can create Networks for all RFC 1918 private IP ranges which are:
10.0.0.0 / 8
172.16.0.0 / 12
192.168.0.0 / 16
-
-
To attach resources, go to your new Network
-
Go to Attach Resource
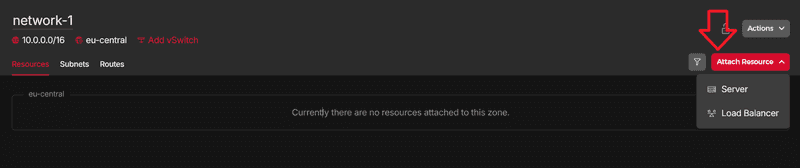
Choose up to 100 servers and a Load Balancer if you have one.
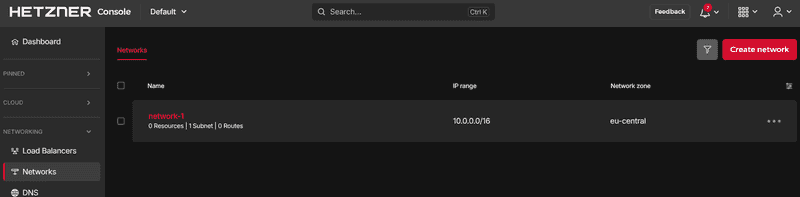
You have created a new Network.
Next: