To create a new Volume on your Hetzner Console, please open your project and do the following:
-
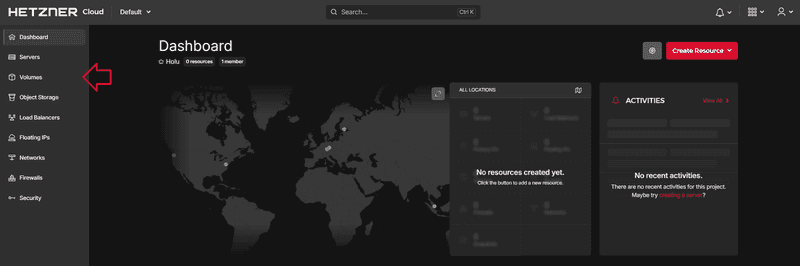
Go to Volumes on the left menu bar
-
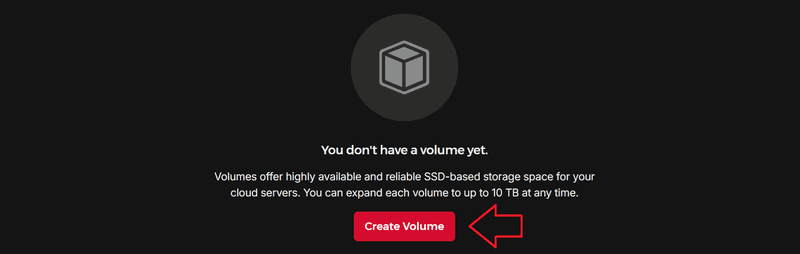
Select Create Volume
-
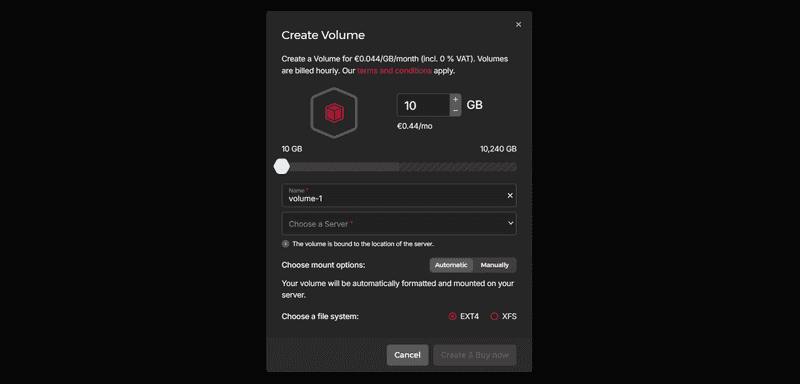
Create your Volume
-
You can use the upper text box next to GB or the slider to change the storage capacity. The cost increases the higher the capacity is. The cost is displayed below the upper text box.
-
Enter a name for your Volume in the next text box. Please note that it is not possible to use names more than once per project.
-
Choose a server. You can attach your Volume to only one server at a time.
-
Choose between the mount options automatic and manually. If you choose the first option, we will automatically format and mount the Volume for you. The next time you connect to your server, you will directly be able to use your new additional storage.
-
Choose a filesystem for the mount option automatic. It is responsible for organizing data on storage devices. You can choose between EXT4 and XFS.
-
-
The next step will depend on whether you choose Automatic or Manually
-
If you choose automatic, your Volume will immediately be ready to use and the Volume will have been configured for you.
-
If you choose manually, you will have to format and mount the Volume yourself. Volumes that have been added to
fstabwill automatically be mounted at every reboot. You can take a look at this tutorial for more information about mounting and formatting a Volume.
-
-
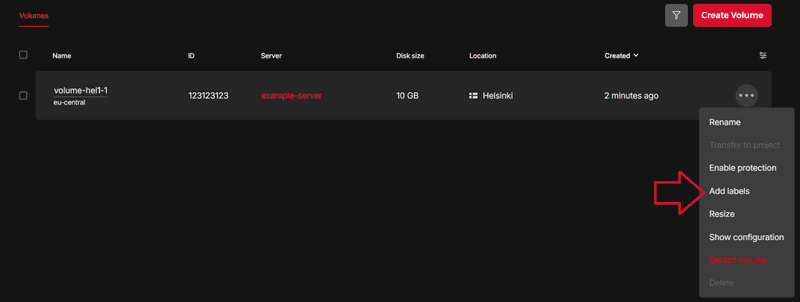
Now that your Volume has been created, you can add labels
-
Example commands to configure a Volume can be accessed at any time via Show configuration

Next: