A Domain Name System (DNS) converts domain names to IP addresses. See full DNS overview.
To create a new zone on your Hetzner Console, please open your project and do the following:
-
Go to DNS on the left menu bar

-
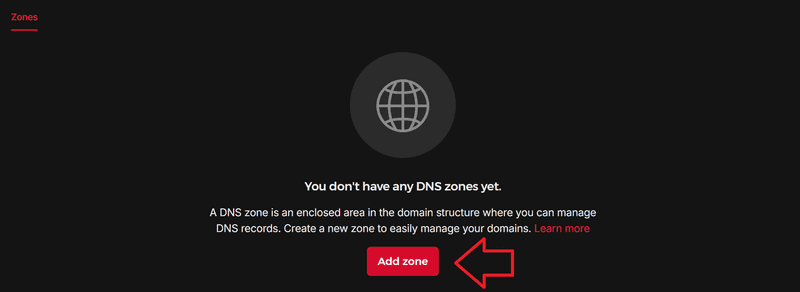
Select Add zone
-
Create your zone
Enter your domain name. At the bottom, you can choose to "share zone with other projects". If this option is enabled, you can use the zone with managed certificates and Load Balancers across all projects. This allows you to manage the zone and its records in a dedicated project, and create a managed Let's Encrypt certificate and add it to a Load Balancer in a different project. For more information, see the FAQ entry "Can I use zones across projects?".
Also, select one of the options:
Option Description Create an empty zone The new zone only has NS records and a SOA record that point to Hetzner name servers. The zone does not have any other records directly after creation. Import zone file You can import records via a BIND-compatible zone file. See this example file on Wikipedia. Secondary There is already an existing zone for your domain with an external provider (primary zone). You can create a second zone with Hetzner for load balancing or redundancy (secondary zone). All DNS records are managed through the primary zone. The secondary zone periodically sends AXFR requests (DNS zone transfer) to retrieve a full copy of the current DNS zone state. Requests to your domain are answered by both the name servers of your external provider and the Hetzner name servers. If you choose "Secondary", you have to provide the IP addresses and port of the primary zone's name servers. To get the IPs of the name servers, you can run:
holu@example:~$ dig NS example.com
;; ANSWER SECTION:
example.com.      3600    IN      NS      ns1.example.net.
example.com.      3600    IN      NS      ns2.example.uk.
example.com.      3600    IN      NS      ns3.example.net.

holu@example:~$ dig A ns1.example.net ns2.example.uk ns3.example.net
For more information about the TSIG key, see the FAQ entry "Primary Servers TSIG Key & Algorithm".
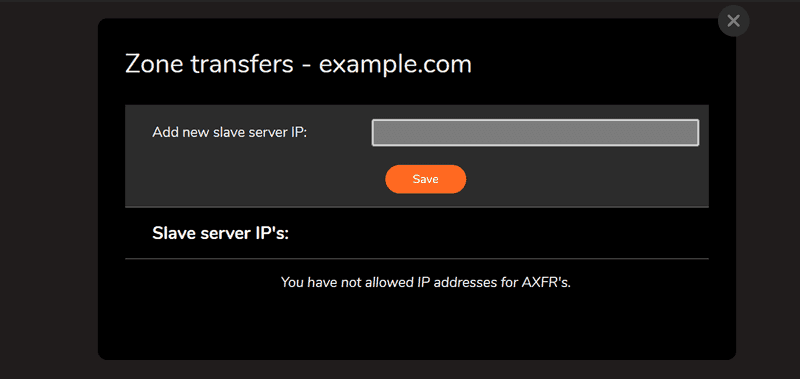
When you're done, click "Add zone". You should now see a window with IP addresses. Navigate to the existing zone of your domain that will act as the primary zone (e.g. with another provider) and allow those IPs. Example:
If you have an external domain or a secondary zone, remember to update the name servers as explained in the getting started "Updating name servers of external domains".
Next: