NetworkManager
This article describes how to switch a Linux system that uses NetworkManager from a DHCP-based network configuration to a static IPv4/IPv6 configuration.
Presumptions for this example
This article will use the following example information for the setup:
| Variable | Value |
|---|---|
| IPv4 Main address | 192.0.2.10 |
| IPv4 Gateway | 192.0.2.1 |
| IPv6 Main Subnet | 2001:db8:2ed8:a621::/64 |
In order for you to follow along you will need your specific information on hand.
It can be found in the Hetzner Robot:
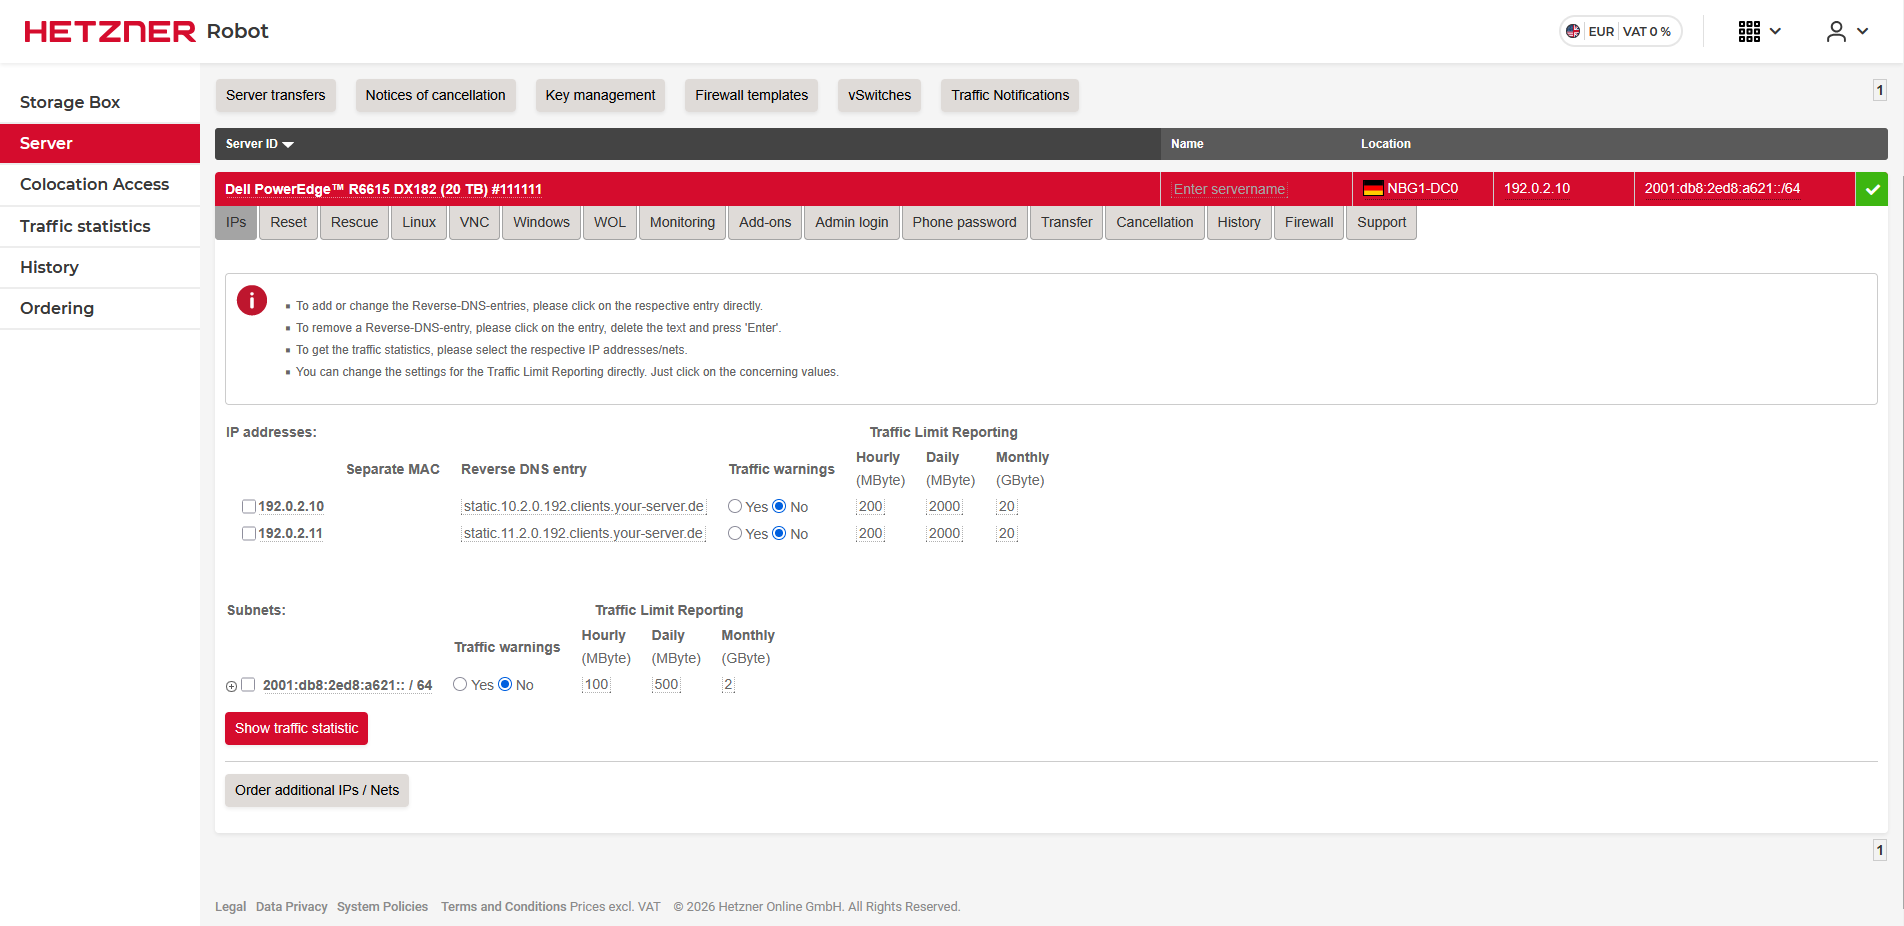
Other (real world) information for this example would be the following:
| Variable | Value1 | Value2 |
|---|---|---|
| IPv4 DNS Servers | 185.12.64.1 | 185.12.64.2 |
| IPv6 Gateway | fe80::1 | |
| IPv6 DNS Servers | 2a01:4ff:ff00::add:1 | 2a01:4ff:ff00::add:2 |
If you need to find the interface-name you can take a look at your current IP layout with the following command:
ip a
1: lo: <LOOPBACK,UP,LOWER_UP> mtu 65536 qdisc noqueue state UNKNOWN group default qlen 1000
    link/loopback 00:00:00:00:00:00 brd 00:00:00:00:00:00
    inet 127.0.0.1/8 scope host lo
       valid_lft forever preferred_lft forever
    inet6 ::1/128 scope host noprefixroute
       valid_lft forever preferred_lft forever
2: eth0: <BROADCAST,MULTICAST,UP,LOWER_UP> mtu 1500 qdisc mq state UP group default qlen 1000
    link/ether 00:11:22:33:44:55 brd ff:ff:ff:ff:ff:ff
    altname enp133s0f0np0
    altname enx6cfe54832320
    inet 192.0.2.10/24 brd 192.0.2.255 scope global dynamic noprefixroute eth0
	   valid_lft 12421sec preferred_lft 12421sec
    inet6 fe80::0011:2233:4455/64 scope link noprefixroute
       valid_lft forever preferred_lft forever
The interface-name is where your Main IP is configured, so in this case eth0.
In some cases the connection is not named after the Interface, so you would need to type in a connection ID which you can find out by running the following command:
nmcli connection
NAME       UUID                                  TYPE      DEVICE
ens2f0np0  f0059a77-2f40-3a8c-b3c1-bccd82ddbe49  ethernet  ens2f0np0
lo         0c6ee9b9-a046-4013-91fc-40f55104c7fb  loopback  lo
eno8303    df42b436-d3a6-44d6-8143-97d7e818672c  ethernet  --
eno8403    0edc1150-f949-4c6b-8844-3c475beb9be5  ethernet  --
ens2f1np1  d622b1e4-8255-4c29-94f7-a634ba5180fc  ethernet  --
Current setup
Currently your setup will probably look something like this:
#  /etc/NetworkManager/system-connections/eth0.nmconnection
[connection]
id=eth0
uuid=01010101-0101-0101-0101-010101010101
type=ethernet
autoconnect=false
interface-name=eth0

[ethernet]

[ipv4]
method=auto

[ipv6]
addr-gen-mode=eui64
method=auto

[proxy]
Since we want to move away from this we will need to use the nmcli utility to make some changes.
Switching to Static IPs
IPv4
To switch to a static IPv4 configuration we will need to run the following command:
nmcli connection mod <interface-name> type ethernet ip4 <IPv4 Main address>/32 gw4 <IPv4 Gateway address> ipv4.dns "185.12.64.1,185.12.64.2" ipv4.method "manual"
All information in <> needs to be replaced with the actual information. So in our example it would be:
nmcli connection mod eth0 type ethernet ip4 192.0.2.10/32 gw4 192.0.2.1 ipv4.dns "185.12.64.1,185.12.64.2" ipv4.method "manual"
IPv6
To switch to a static IPv6 configuration we will need to run the following command
nmcli connection modify eth0 ip6 "<ipv6 Main Subnet>::2/64" gw6 "fe80::1" ipv6.dns "2a01:4ff:ff00::add:1,2a01:4ff:ff00::add:2" ipv6.method "manual"
All information in <> needs to be replaced with the actual information.
So in our example it would be:
nmcli connection modify eth0 ip6 "2001:db8:2ed8:a621::2/64" gw6 "fe80::1" ipv6.dns "2a01:4ff:ff00::add:1,2a01:4ff:ff00::add:2" ipv6.method "manual"
Finishing touches
To apply the configurations there are a few options:
nmcli connection reloadThis only reloads the connection and does not apply the ipv4/ipv6 dns entries.service NetworkManager restartThis option restarts NetworkManager and should apply all changes made.- You can also reboot the machine in order to reload the Networking Service.