vKVM Rescue System
 The vKVM rescue system allows you to start the operating system installed on your server's hard drive in a virtual machine, enabling you to correct boot problems or firewall settings, for example, which would normally require a [KVM console] (https://docs.hetzner.com/robot/dedicated-server/maintenance/kvm-console).
KVM (Kernel-based Virtual Machine) is used for virtualization. SATA and NVMe data carriers are passed on to the guest system accordingly. The network can also be accessed directly (the VM receives the same MAC address as the physical network card, meaning that the network connection also works perfectly in vKVM).
The following ports cannot be used by the guest system in vKVM mode (incoming packets do not reach the guest):
| 47772 | SSH |
|---|---|
| 47773 | web interfaces (SSL) |
Starting the Rescue System
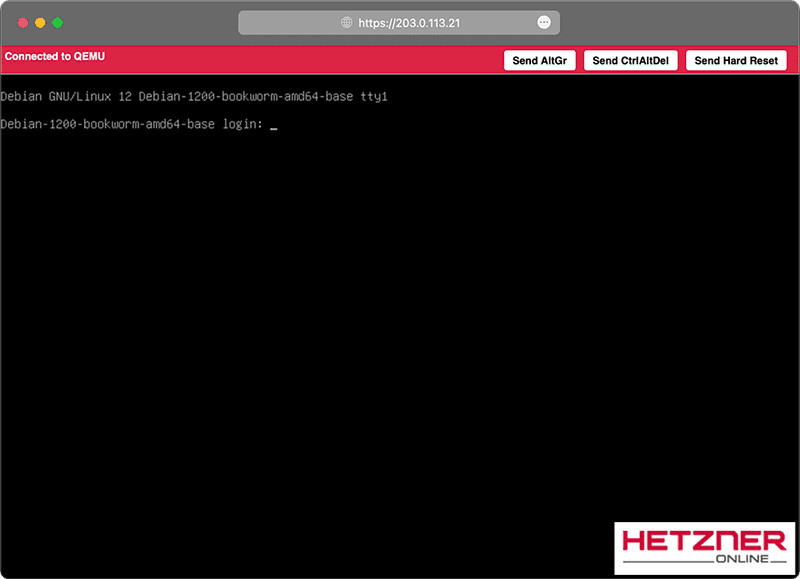
The rescue system is activated from the Robot. There, select the menu item Rescue in the server overview (menu item Server -> click on the desired server) (select vkvm in the operating system dropdown). You will be shown a URL and a username/password that you can use to access the vKVM website.
In addition to the basic option of monitoring the screen output and forwarding keyboard and mouse input to the VM, the vKVM interface also offers the following functions:
Send Alt-Gr |
Sends Alt-Gr e.g. for backslash or pipe |
|---|---|
Send Ctrl-Alt-Del |
Sends Ctrl-Alt-Del (soft reset) to the virtual machine |
| Send HW Reset | Performs a reset of the virtual machine |
By default, vKVM attempts to boot from the first hard disk. To exit vKVM mode and boot the server directly from the hard disk again, you should first restart your VM with Send Ctrl-Alt-Del (to avoid damaging the file system) and then restart the server using one of the reset options in the robot (automatic hardware reset). Restarting from within the operating system is not sufficient.
You can also connect to the Rescue System via SSH at the port 47772 with the user "root" and the password that is shown in Robot.
Restrictions
Due to the fact that vKVM starts the server in a virtual machine that provides different hardware components than the physically existing system, the usability of vKVM may be restricted for certain operating systems.
Half RAM usage
Since the vKVM hypervisor itself needs memory, and it only runs in RAM, the virtual machine is started with only 50% of the physical memory that is actually available.
Windows
KVM automatically detects Windows installations and passes SATA & NVMe disks through as SATA devices in this case. These are displayed as “QEMU HARDDISK” in Device Manager. Please also note that the emulated hardware differs fundamentally from the physically existing hardware. Depending on the license key used, this may require Windows to be reactivated. In Windows, it is also not possible to edit the network settings of the physical network card, as the corresponding network connection is not displayed in the Control Panel.
Network
For servers with more than one network card, only one network card is generally passed on to the VM. Packets arriving at the second network card are always forwarded to the first network card in the VM. Outgoing packets are always sent via the first physical network card.
Booting from a different disk
The vKVM usually boots from the first data carrier. If it is necessary to boot from another data carrier, the boot order in the GRUB boot loader can be adjusted using + / - under UEFI Firmware > Boot Maintenance Manager > Boot Options > Change Boot Order. All data carriers are displayed here as QEMU HARDDISK.
Servers without Intel VT or AMD-V
To use vKVM, you need a server with a CPU that supports Intel VT or AMD-V. Systems without hardware virtualization are not supported.
Nested virtualization
The virtualization features of CPUs are not passed on to the VM.
Text input
It is not possible to paste text (Ctrl + V), such as a password.
RAID controllers
Configured units are passed on to the VM as SCSI devices. It is not possible to access the controller itself in the VM. Instead, use the normal Hetzner Rescue System.
Black screen
With older Ubuntu versions (Ubuntu 16.04 and older), it may be necessary to disable the vga16fb module, otherwise only a black screen will be displayed shortly after startup.
To do this, add the following line to the file /etc/modprobe.d/blacklist-framebuffer.conf:
blacklist vga16fb